
Bring a blank living room to life by hanging a gallery wall. Displaying a collection of art, photographs, and other framed mementos fills a space with the homeowner’s personality. Consider empty wall space outside the living room too, like a breakfast nook, playroom, bedroom, home office, or hallway Whether you’re creating a gallery wall for the first time or you’re refreshing an existing display, plan out where the individual pieces will hang before even picking up the hammer.
1) Put down the hammer.
Hanging a gallery wall can be intimidating, but you don’t have to immediately put holes in the wall. Make the process easier on yourself by using brown Kraft paper and laying out your gallery wall on the ground first. Using this technique, you can confidently arrange pieces and mark up the paper until you find just the right formation. Once you have everything where you like it, use painter’s tape to hold the paper to the wall and use your model as a guide for nails.
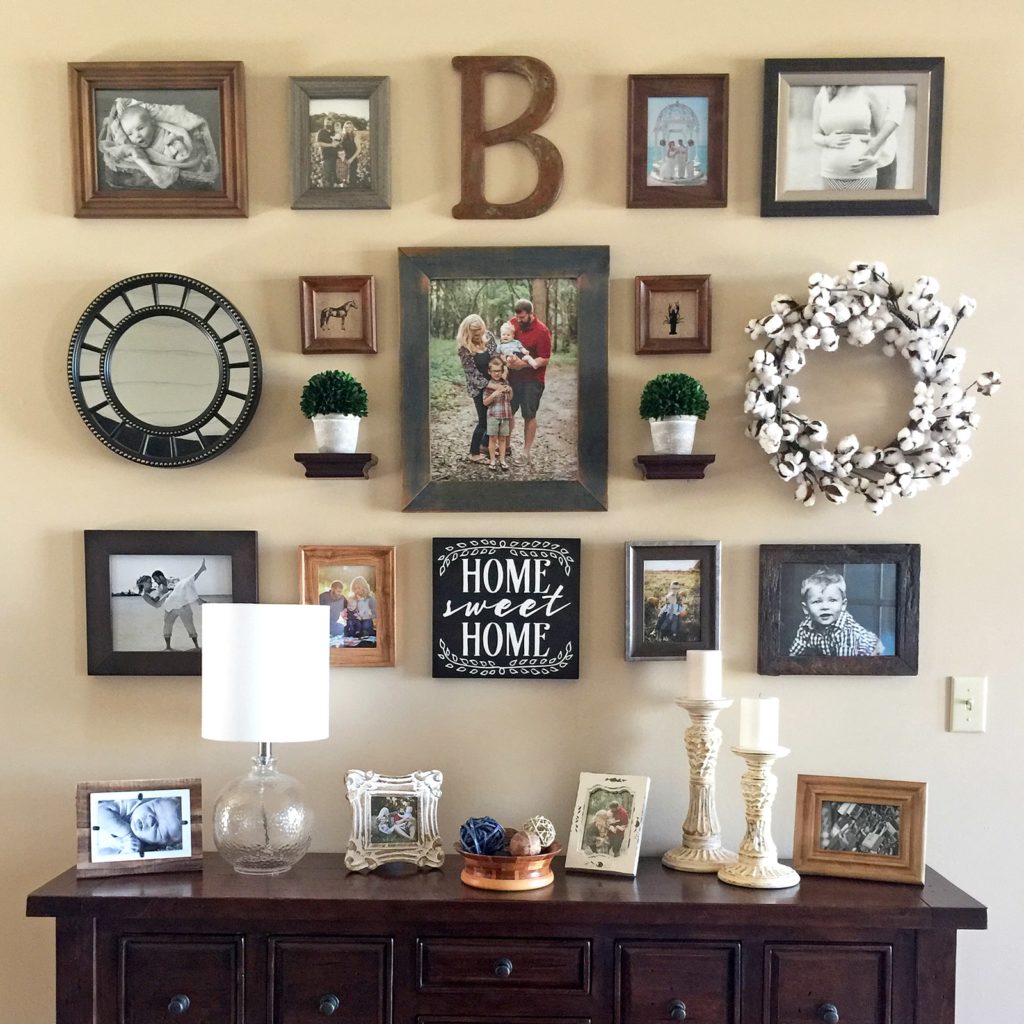
2) Select your anchor piece.
Identify your favorite piece of the bunch and let it be the anchor, setting the tone for the wall. Perhaps it’s your newly acquired abstract piece, a sculpture mount you found at a garage sale or a treasured handed down note from a family member that you have had mounted in a special frame. Whatever you choose—make it the focal point of your wall and the key feature of the story you’re telling. This piece should be eye level – about five feet from the ground.
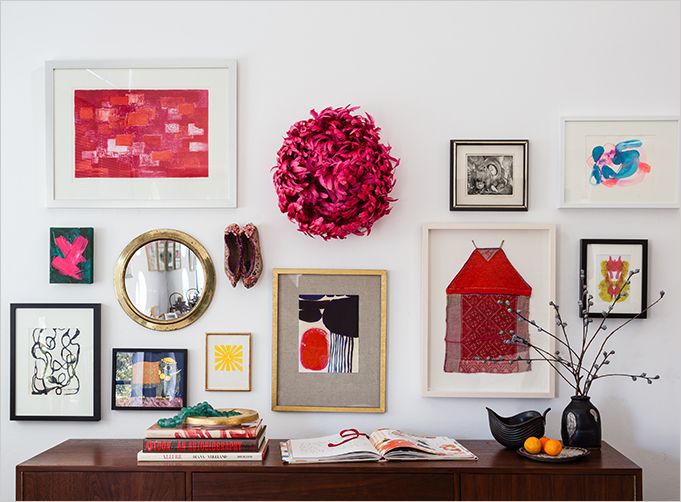
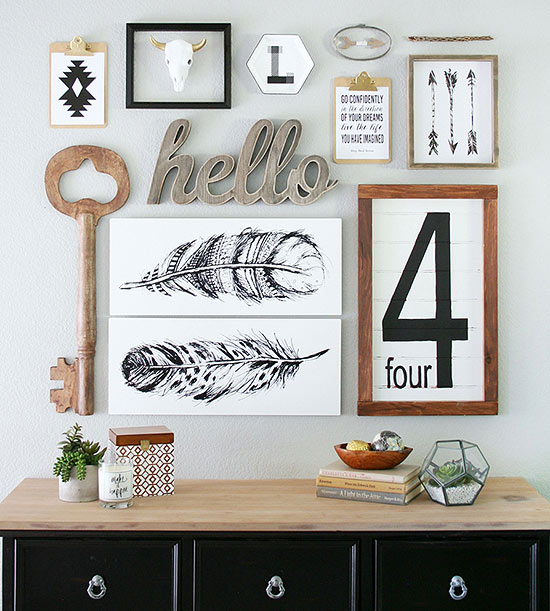
3) Don’t be afraid to Mix and Match
Gallery walls are much more interesting and thoughtful when they include a variety of styles and textures. Mix your vintage drawings framed in glass with modern abstracts on chunky wood slats. And remember, not every piece is a ‘masterpiece.’ Some of the most beautiful pieces of art may come from the hands of someone you love. The combination of both color and texture will keep it fun!
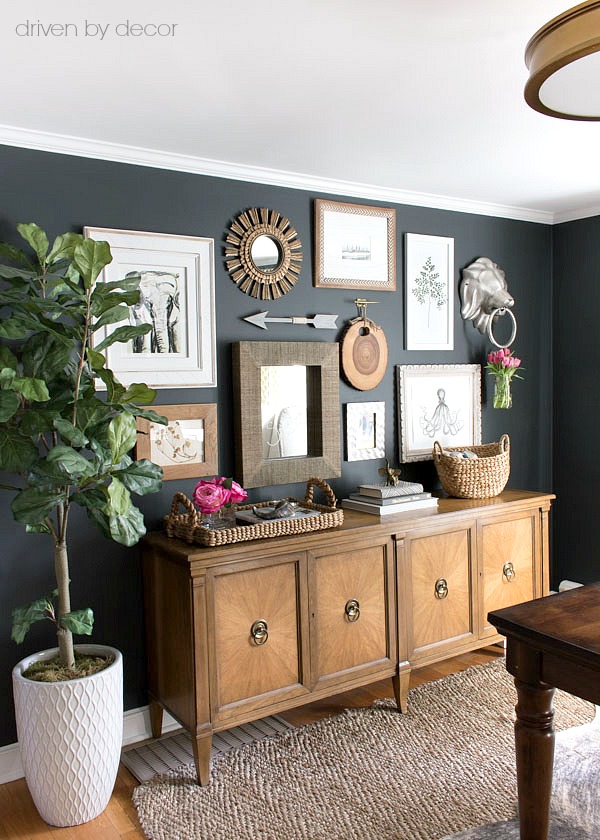
4) Space it out
Be sure to keep your spacing consistent between each piece. To ensure measurement remains consistent, try a simple and easy technique – cut a small piece of paper about three inches wide and hold it up next to each piece and space accordingly. We recommend keeping every piece about 3 inches apart.
5) Hang it up!
Now, you are ready for the easy part – you did the hard work in the beginning. Once all the original pieces have been hung, don’t be afraid to keep going. As you get more pieces, add to your collection. The best stories are the ones that haven’t even been finished yet, so take the risk, you may just LOVE the results!
We hope you enjoyed these tips on creating a fabulous gallery wall… we think it is the perfect project while everyone is under quarantine, cleaning out their closets and is just itching for something new to tackle within their home. We hope you will share with us how you created YOUR gallery wall.
Source: https://www.southernliving.com/home/decor/how-to-hang-gallery-wall